How Sorva works
From setup to service, every handoff has a place
The rollout is intentionally practical: configure the workspace, test one complete service flow, then expand with confidence. Here is what your team can expect from the first setup session through the end of a shift.
Step 01
Set up your restaurant workspace
Start with the operating details that make the rest of the system useful: your restaurant profile, team, first service flow, and the devices your people will use.
What this looks like
- Add the restaurant information your staff and guests need to recognise.
- Invite owners, managers, waiters, and other team members with the right access.
- Choose one service area or shift to test before rolling Sorva across the room.
Step 02
Build a menu your team can maintain
Create a clear menu with categories, prices, images, modifiers, and availability rules so guests see what the kitchen can actually serve.
What this looks like
- Organise dishes into familiar categories such as mains, drinks, sides, and specials.
- Add portions, extras, choices, and instructions without making the order confusing.
- Update prices or mark an item unavailable once, then keep guest and staff views aligned.
Step 03
Connect tables to the right menu
Map your floors and tables, generate table-specific QR codes, and place them where guests can start without downloading an app.
What this looks like
- Create the table structure that matches the way your restaurant is laid out.
- Generate and test each QR code on a real phone before service.
- Keep table context attached so staff know where an order or request came from.
Step 04
Let guests order—or let staff take over
Sorva supports both self-service and hospitality-led service. A guest can scan and order, while a waiter can use the POS to create, edit, or explain an order when help is needed.
What this looks like
- Guests browse the menu and send an order from the table flow.
- Waiters can create orders for guests who prefer assistance or have special requests.
- The same order context stays visible instead of splitting work across notebooks and chats.
Step 05
Coordinate the kitchen and floor
Orders and service requests move through visible statuses so the kitchen, waiters, and manager know what is new, in progress, ready, or complete.
What this looks like
- The team sees the table, items, modifiers, and request context together.
- Staff can update progress so guests are not left wondering what is happening.
- Managers can review active work and intervene before a small delay becomes a service problem.
Step 06
Collect and verify payment
Keep the order total, payment method, reference, and status together so your team can confirm what has been paid and what still needs attention.
What this looks like
- Use the payment flow that fits your restaurant and current provider setup.
- Give staff a clear place to review pending, successful, failed, or unclear payments.
- Carry payment context into shift handover and reconciliation instead of reconstructing it later.
Step 07
Close the shift with a clear picture
After service, history and operational views help you understand orders, requests, payments, staff activity, and stock pressure—and decide what to improve next.
What this looks like
- Review what happened instead of relying only on memory or scattered messages.
- Spot menu, payment, inventory, or workflow issues that should be fixed before the next shift.
- Start small, learn from one service flow, and expand the system as your team gains confidence.
One connected experience
The right view for every person on shift
Show the guest what to order, the kitchen what to prepare, and the manager what needs attention next.
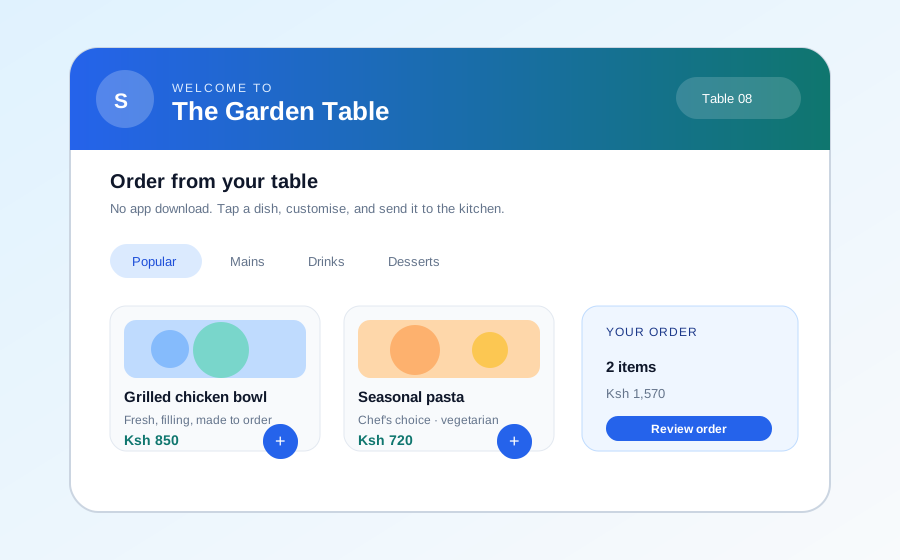
For guests
A menu that gets out of the way
A fast, app-free ordering path that keeps the table context attached to every request.
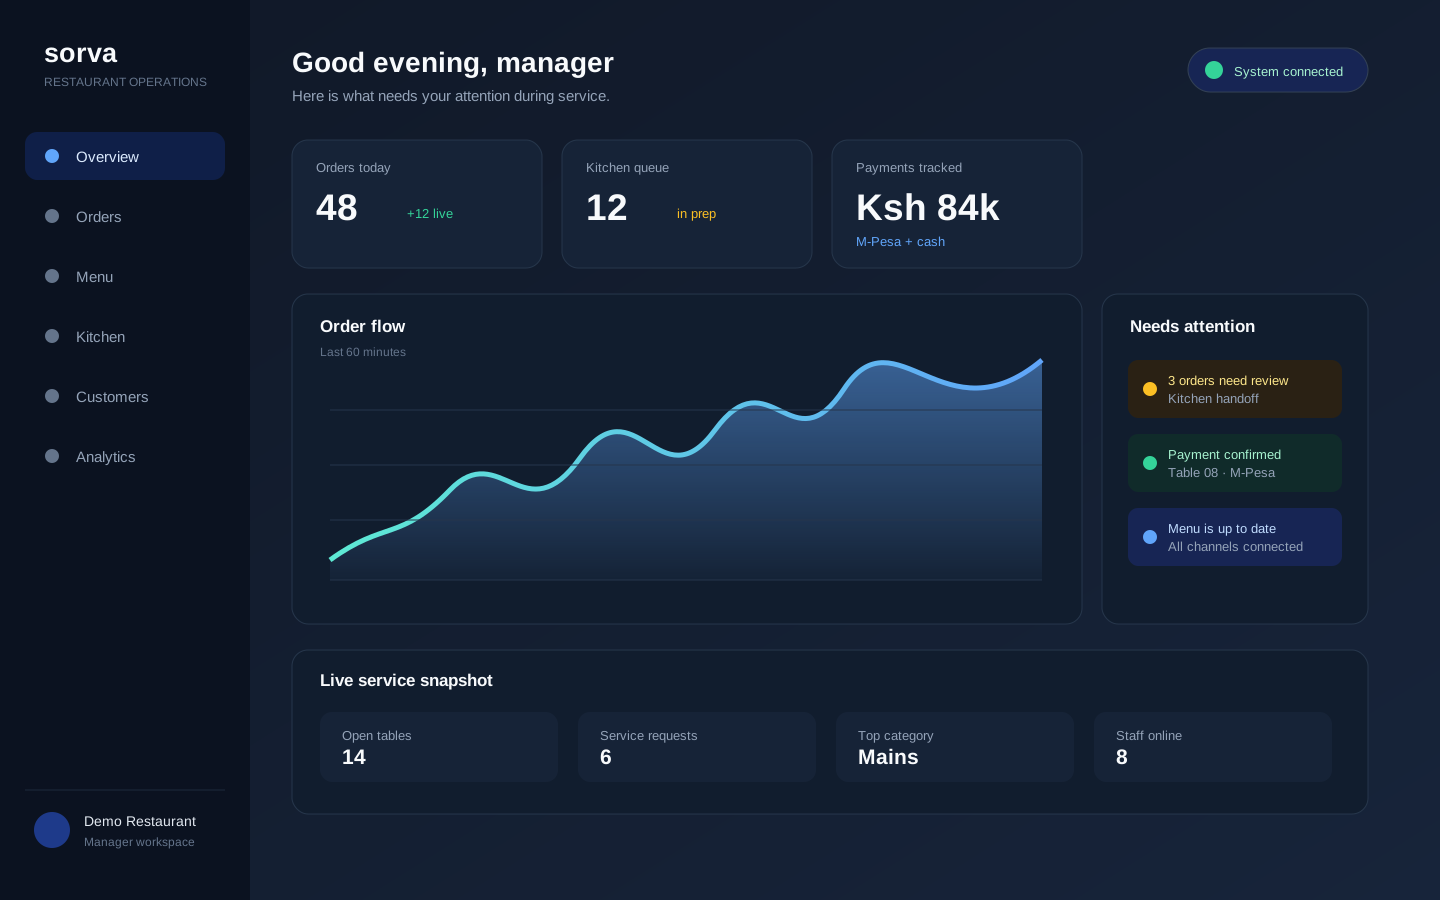
For owners and managers
A clearer view of the whole room
See the operational picture—orders, requests, payments, stock, and team activity—from one dashboard.
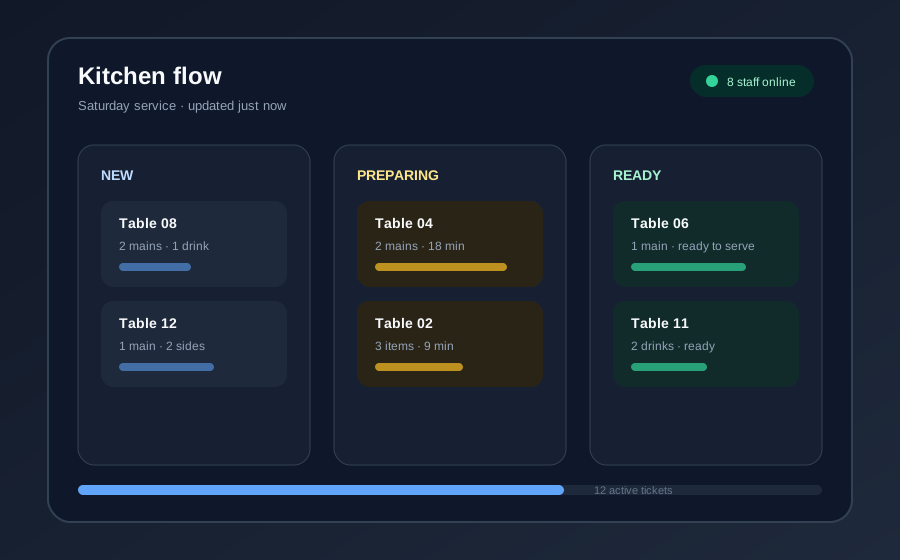
For the team
Clear work from order to handoff
Keep kitchen tickets, service requests, and payment status visible without chasing conversations.
When connectivity changes
The exact offline behaviour depends on the workflow and device. Before onboarding, we show which actions can be captured locally, how they are queued, and what happens when the connection returns.
Read the resilience notesYour first 30 minutes
- 1Upload your menu.
- 2Generate a table QR code.
- 3Run a test order.
- 4Invite the person running the shift.